Using a USB Cable (Requires
Windows 98)
1
Plug in electrical power cord.
Do NOT
plug in the USB cable yet.
2
Load white paper, printable side down.
3
Insert print cartridges.
a
Press Power Button
to turn on printer.
b
Remove vinyl tape from print cartridges.
Do NOT
touch or remove copper strip on
print cartridges.
c
Open the printer’s top cover, then insert
print cartridges.
d
Close cartridge cradle latches, then close
the printer’s top cover. Printer will print a
calibration page.
4
Insert printer software CD.
a
Turn on your computer and wait for
Windows 98 to start.
b
Insert the HP Printer Software CD into
your CD-ROM drive.
5
Connect USB cable.
•
You can connect to any USB port.
•
If the New Hardware Found Wizard dialog
box does not appear after you plug in the
USB cable, see page 35 for more
information.
•
A USB cable, such as an HP
USB-Compliant Interface Cable (part
number C6518A), should be purchased
separately.
6
Install USB software.
a
Click
Next
.
b
Click
Next
.
c
Check
Specify a Location
, then click
Browse
.
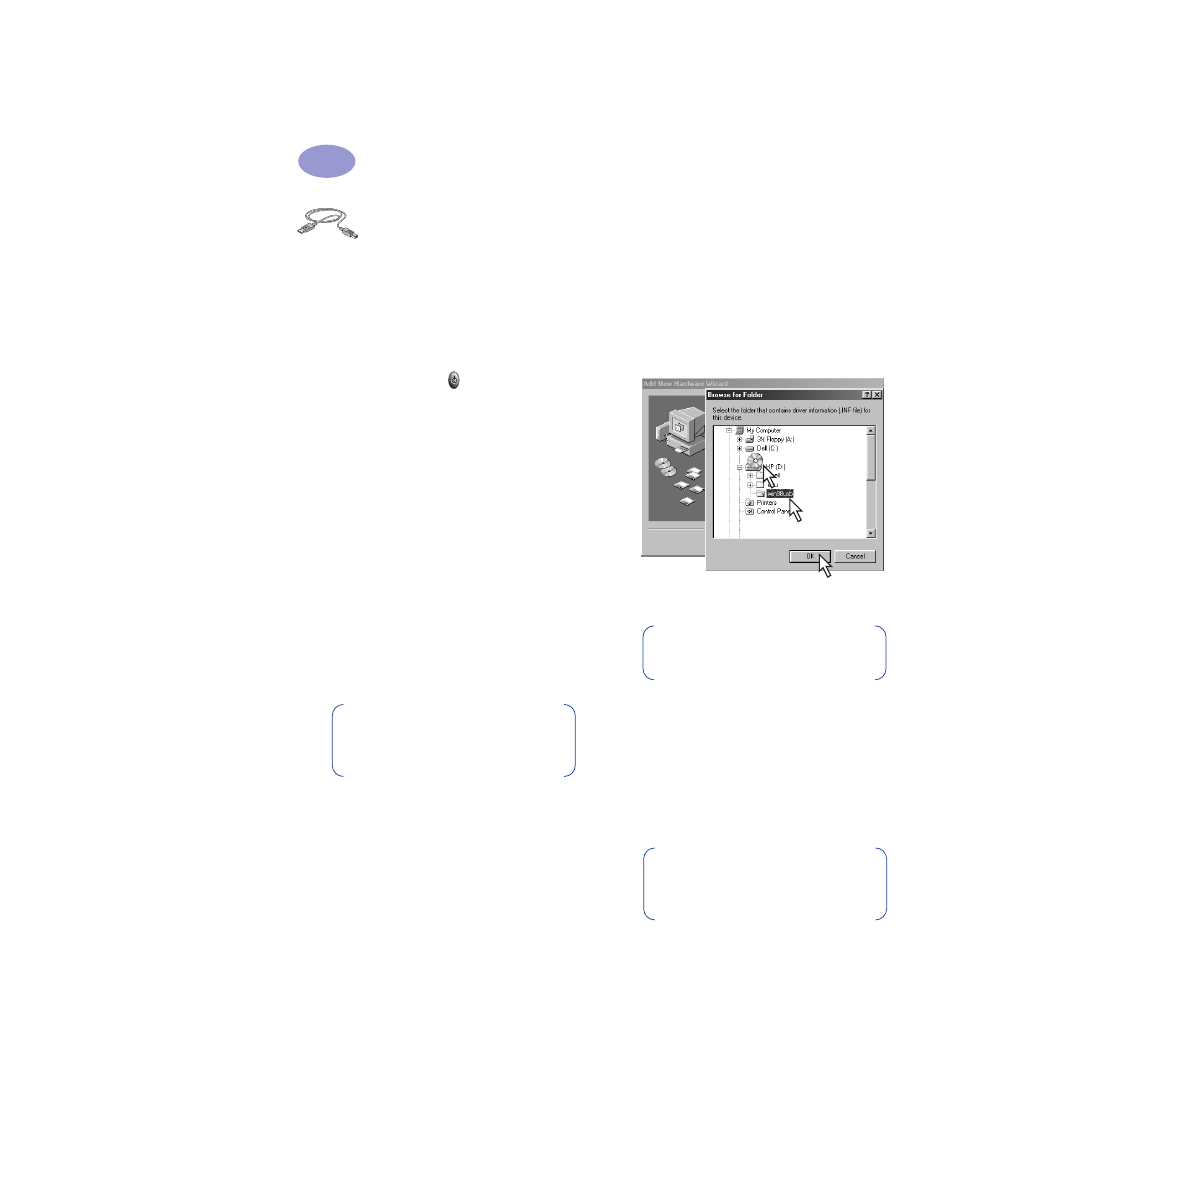
d
Double-click on the CD icon, then click
on the
win98usb
folder, then click
OK
.
e
Click
Next
.
f
Click
Next
.
g
Click
Finish
.
7
Install printer software.
a
Click
Next
.
b
Follow on-screen instructions to install
your printer software.
Note:
Your printer software will not
start until after you have connected
the USB cable.
1
3
2
Note:
The drive letter may be
different on your system.
Note:
If you have problems
installing, see pages 33–35 in this
User’s Guide.

51
More About Your Printer
5